


A proper office chair neck support setup is defined as the precise adjustment of a headrest, lumbar support, armrests, and monitor height to maintain a neutral cervical spine position during desk work. When these four elements align correctly, the cervical muscles carry less static load, and neck strain decreases measurably. Research confirms that most workers see relief from mechanical neck strain within two weeks after correcting all four ergonomic points. That timeline is short enough to make the effort worthwhile. This guide walks you through every adjustment in sequence, flags the mistakes that undo good setups, and explains what to do when the chair alone is not enough.
What are the key components for office chair neck support?
Effective neck support in an office chair depends on four interconnected elements, not just the headrest. Each one influences the others, and skipping any single component limits the results of the rest.
- Headrest: The headrest must contact the occipital bone, the bony ridge at the base of the skull, not the crown of the head. Correct anatomical positioning at the occipital bone prevents the unnatural chin tilt that a misplaced headrest creates. Height, depth, and angle all require individual tuning.
- Lumbar support: The lower back sets the foundation for the entire spine. Lumbar support tuning is foundational because it establishes the base alignment that travels upward through the thoracic and cervical vertebrae. A collapsed lumbar curve forces the head forward, making even a perfect headrest ineffective.
- Armrests: Armrests that sit too high cause the shoulders to shrug upward, loading the upper trapezius and levator scapulae muscles. High armrests create shoulder elevation and upper trapezius strain even when the headrest is well adjusted.
- Monitor height: A screen placed too low pulls the head down and forward. Monitor top third at eye level at a distance of 20–40 inches is the clinically recommended standard for preventing forward head posture.
Pro Tip: Treat these four components as a single system. Adjusting only the headrest while ignoring lumbar support or monitor height produces partial results at best.
How do you adjust your chair’s headrest for optimal neck alignment?
Headrest adjustment is the most technically specific part of any ergonomic neck support chair setup. Follow these steps in order for the best outcome.
- Measure your seated ear-to-shoulder distance. Sit upright in your chair with your back against the backrest. Have a colleague measure the vertical distance from the top of your shoulder to the center of your ear. This number is your reference.
- Set headrest height to 85–90% of that measurement. Headrest height at 85–90% of the ear-to-shoulder distance places the pad directly at the occipital bone. That contact point supports the skull without pushing the chin forward or tilting the head back.
- Adjust headrest depth for a 50–55 degree craniovertebral angle. The craniovertebral angle describes the angle between the ear and the seventh cervical vertebra. A 50–55 degree craniovertebral angle indicates a neutral head position. If the headrest pushes your head too far forward, pull it back until the angle falls in that range.
- Test recline angles between 100 and 120 degrees. Reclining between 100 and 120 degrees with a synced tilt mechanism lets the headrest carry the skull’s weight during short breaks and reading periods. This range reduces the compressive load on cervical discs compared to sitting bolt upright.
- Confirm neutral gaze. After all adjustments, look straight ahead. Your gaze should land at the top third of your monitor without tilting your chin up or down. If it does not, revisit headrest height before adjusting the monitor.
Pro Tip: Headrests are primarily useful during reclined phases like reading or taking a break, not during active typing. During focused keyboard work, lean slightly forward and let the lumbar support carry the load.
Step-by-step: how to set up your office chair for neck health
A complete ergonomic chair setup starts from the floor up. Rushing to adjust the headrest before the seat height is correct is the single most common error professionals make.
- Set seat height first. Adjust the seat so your feet rest flat on the floor, your thighs are parallel to the ground, and you can fit two to three fingers in the gap between the back of your knees and the seat edge. Feet flat, thighs parallel, and a 2–3 finger gap behind the knees is the standard ergonomic baseline.
- Tune lumbar support. Press the lumbar pad firmly into the natural inward curve of your lower back. The pad should fill the gap without pushing your lower back into an exaggerated arch. Lumbar support impacts whole-spine alignment, so this step directly affects how well your headrest will work.
- Position armrests. Lower the armrests until your shoulders drop into a relaxed position and your elbows bend at roughly 90 degrees. Armrest height between 11 and 14 inches from the seat base fits most adults and supports relaxed shoulders.
- Place the monitor correctly. Position the top third of the screen at eye level. Keep the screen 20–40 inches from your face. If you wear bifocals, lower the monitor slightly so you are not tilting your head back to read through the lower lens.
- Adjust the headrest last. With the seat, lumbar support, armrests, and monitor all set, follow the five headrest steps from the previous section. Adjusting the headrest last ensures it complements the posture the rest of the setup has already established.
The table below summarizes the target measurements for each adjustment point.
| Setup element | Target measurement |
|---|---|
| Seat height | Feet flat, thighs parallel, 2–3 finger gap behind knees |
| Lumbar support | Fills natural lumbar curve without forcing arch |
| Armrest height | 11–14 inches from seat base, shoulders relaxed |
| Monitor distance | 20–40 inches, top third at eye level |
| Headrest height | 85–90% of seated ear-to-shoulder distance |

What are the most common neck support setup mistakes?
Even workers who invest in adjustable neck support chairs often undo their setup with a handful of predictable errors. Recognizing these mistakes is the fastest path to lasting relief.
- Headrest placed too high or too low. Improper headrest placement worsens forward head posture and increases neck pain rather than relieving it. A headrest contacting the crown of the skull pushes the chin forward. One sitting below the occipital bone provides no structural support at all.
- Skipping lumbar support adjustment. Workers who focus entirely on the headrest while leaving lumbar support at the factory default create a misaligned spinal base. The cervical spine cannot hold a neutral position when the lumbar curve is collapsed.
- Armrests set too high. Shoulder shrugging is a subtle but constant source of upper neck tension. Many workers raise armrests to feel more “supported” without realizing the elevation is loading the trapezius all day.
- Monitor too close or too far. A screen within 18 inches causes the head to tilt forward to focus. A screen beyond 40 inches causes the head to crane forward to read. Both positions strain the cervical extensors over time.
- Treating the chair as a complete solution. Neck pain from desk work is largely a load problem caused by static posture. Ergonomic seating redistributes that load but does not replace movement. Standing up, stretching, and walking for two minutes every 45–60 minutes reduces cumulative cervical muscle fatigue more than any single chair adjustment.
A headrest cannot substitute for poor overall posture. It must complement proper monitor distance, desk height, and lumbar support to be effective. When neck discomfort persists despite a correct setup, the issue is usually static load accumulation, not a missing adjustment.
Key Takeaways
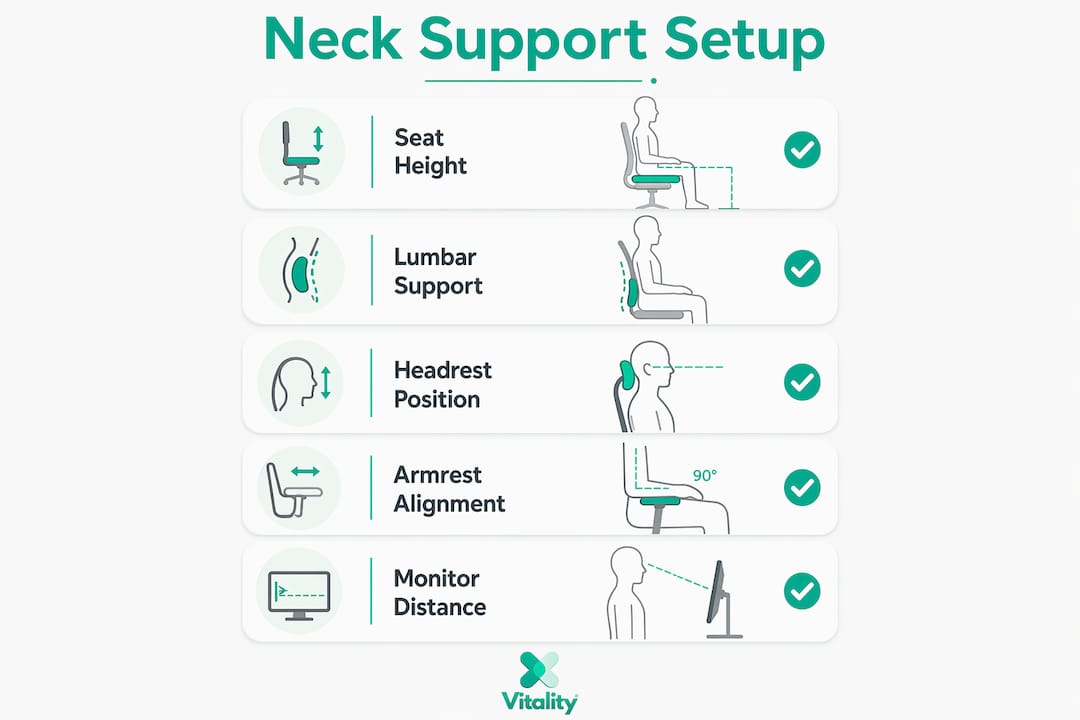
A correct office chair neck support setup requires adjusting the headrest, lumbar support, armrests, and monitor height as a single integrated system, not as isolated components.
| Point | Details |
|---|---|
| Headrest height | Set at 85–90% of seated ear-to-shoulder distance to contact the occipital bone. |
| Lumbar support first | Tune the lumbar curve before the headrest, since lower back alignment drives cervical posture. |
| Armrest positioning | Keep armrests at 11–14 inches from the seat base to prevent shoulder elevation and trapezius strain. |
| Monitor placement | Position the top third of the screen at eye level, 20–40 inches away, to prevent forward head posture. |
| Movement is non-negotiable | Stand and stretch every 45–60 minutes, because ergonomic seating reduces static load but does not eliminate it. |
What I’ve learned from years of watching people set up their chairs wrong
Most people approach ergonomic setup as a one-time task. They spend twenty minutes adjusting everything, feel better for a day, and then slowly drift back to old habits. The chair does not change. The person does.
The insight that shifted my thinking is this: a headrest is a rest-phase tool, not an active-work tool. During focused typing, the head naturally moves forward slightly as concentration deepens. The headrest becomes irrelevant in those moments. Its real value is during the reclined breaks, the reading pauses, the moments when you lean back and let the chair carry you. If you never recline, you are paying for a feature you are not using.
The second thing I have observed is that lumbar support gets far less attention than it deserves. Every conversation about neck pain at a desk gravitates toward the headrest or the monitor. But the cervical spine sits on top of the thoracic and lumbar spine. If the foundation is wrong, the top will always compensate. I have seen workers spend hundreds of dollars on adjustable neck support chairs and still suffer because the lumbar pad was sitting two inches too low.
Finally, anatomy is individual. The 85–90% headrest height rule is a starting point, not a guarantee. Neck length, shoulder width, and sitting posture all vary. Treat every measurement as a hypothesis, sit with it for two days, and adjust from there.
— Achraf
Vitalitytherapy: neck relief that works alongside your ergonomic setup
A well-adjusted chair reduces daily strain, but it does not reverse the tension that has already built up in your cervical muscles. That is where targeted therapy makes a real difference.
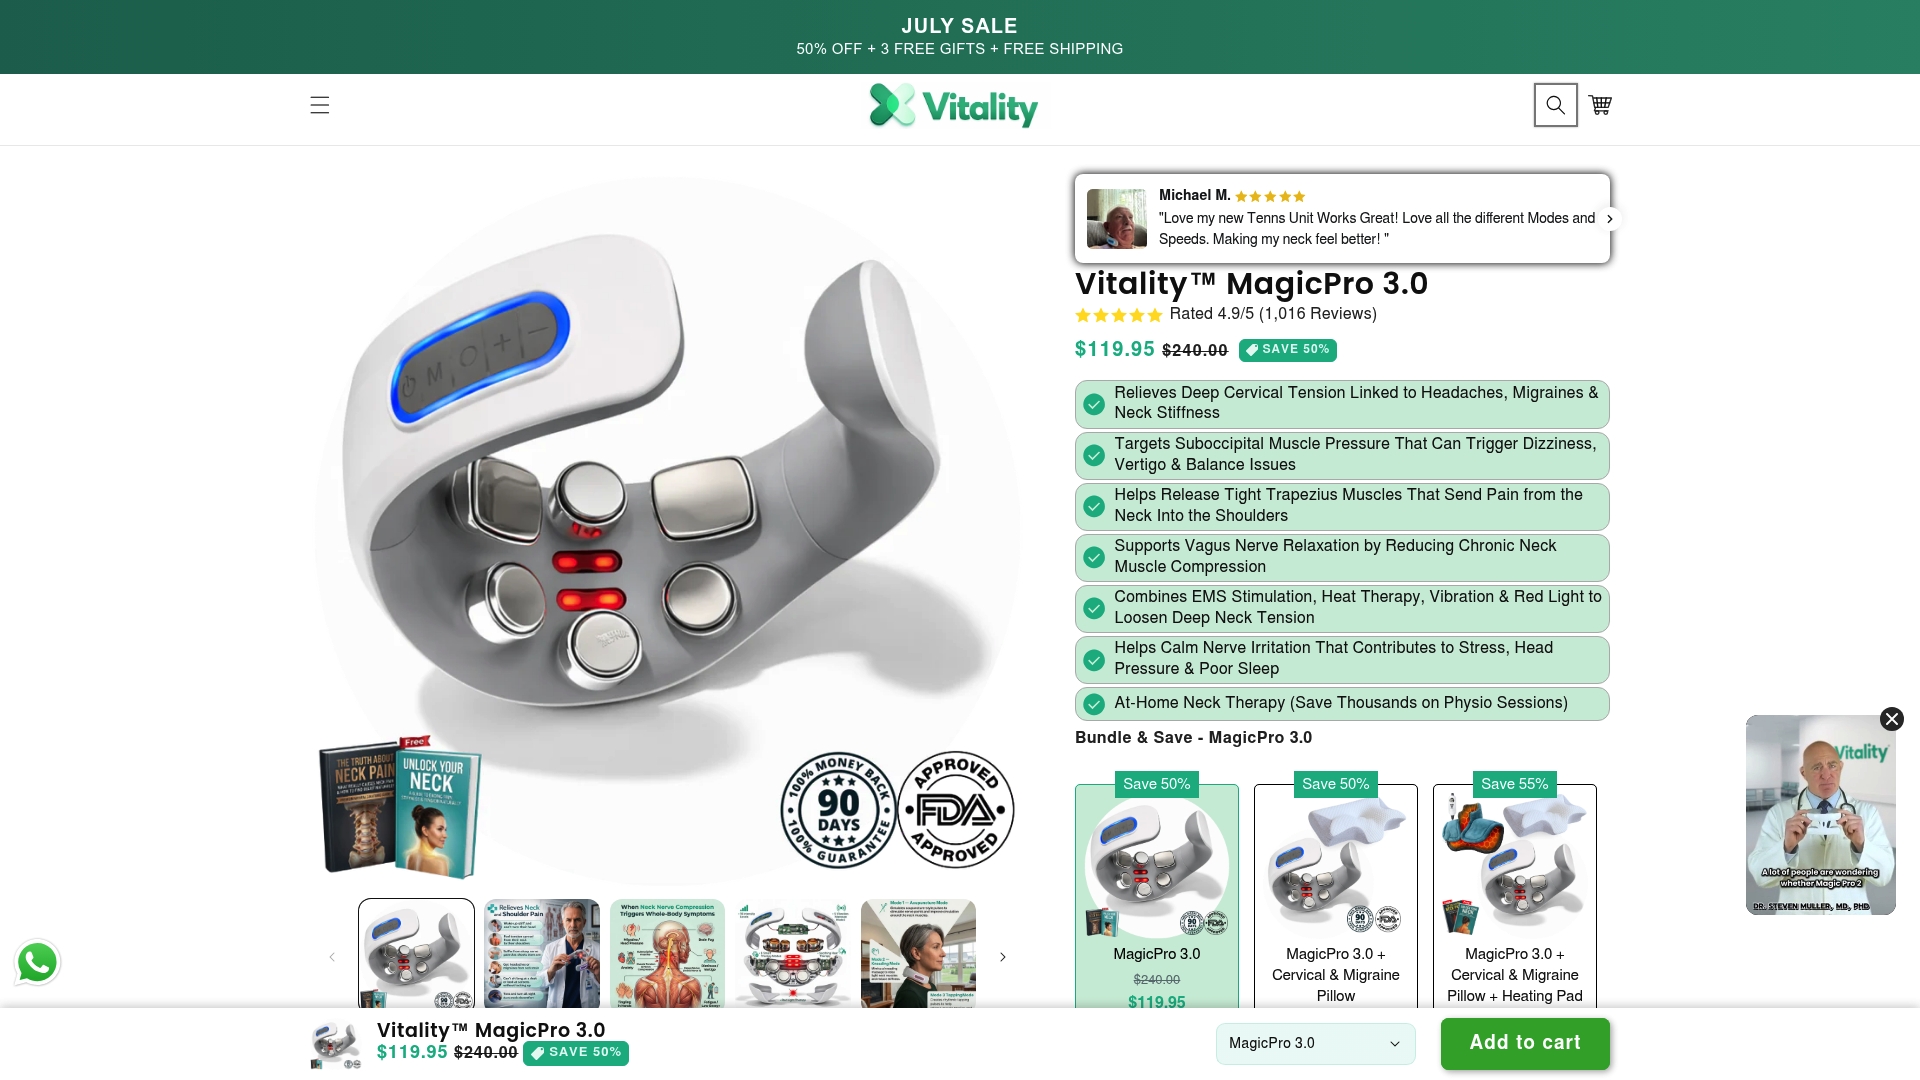
Vitalitytherapy’s MagicPro 3.0 combines electrical muscle stimulation, heat, and massage in one compact device. It delivers clinically supported relief in 15 minutes per day, at your desk, at home, or while traveling. The device is doctor-recommended and designed to address the exact type of static-load tension that builds up during long work sessions. For workers who want a complete approach to neck comfort, Vitalitytherapy’s full range of neck and nerve relief devices pairs directly with the ergonomic setup principles covered here.
FAQ
What is the correct headrest height for neck support?
Set the headrest at 85–90% of your seated ear-to-shoulder distance so it contacts the occipital bone at the base of your skull. This position supports the skull without pushing the chin forward or tilting the head back.
Does lumbar support affect neck pain?
Yes. Lumbar support sets the base alignment for the entire spine, and a collapsed lumbar curve forces the head forward, increasing cervical strain. Adjusting lumbar support before the headrest produces better neck outcomes.
How far should my monitor be from my face?
Position your monitor 20–40 inches from your eyes, with the top third of the screen at eye level. This distance prevents both the forward lean caused by a screen that is too close and the crane posture caused by one that is too far.
Can a neck support pillow for the office replace a headrest?
A neck support pillow for the office can supplement a chair that lacks a built-in headrest, but it works best when the lumbar support, armrests, and monitor height are also correctly set. A pillow alone does not correct forward head posture caused by a misaligned workstation.
How often should I take breaks even with a perfect ergonomic setup?
Stand, stretch, or walk for two minutes every 45–60 minutes. Ergonomic seating reduces static load on the cervical spine but does not eliminate it. Regular movement is the only way to prevent cumulative muscle fatigue from building up over a full workday.